DSM Instructional – Installing Workstations
This
document covers the installation of Workstations to use DSM.
NOTE:
You will need ADMINISTRATOR ACCESS to your computer or network to
install DSM.
The
first thing you will need to know is what type of Windows Operating system you
will be installing on.
DSMSQL
works on Windows XP and Higher. It also
functions in a “Cloud Capacity” on numerous other devices but you must
subscribe to the DSM CLOUD configuration to take advantage of these features.
 WINDOWS INSTALLATION: (Local installations)
To
find out, right click “my computer” or “computer” and choose Properties.
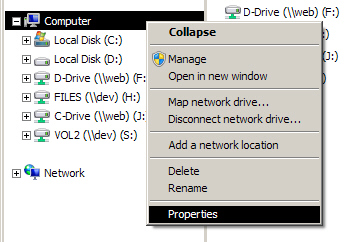
On
windows Vista & later, it says it on the main screen as seen below
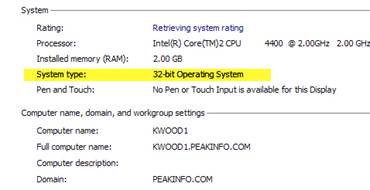
Other
operating systems may vary so if you are unsure,
consult your IT staff to find out which type you have.
Next,
obtain the proper setup file from www.dsm-software.com/support/
There
are 32 BIT and 64 BIT installation files in the DOWNLOADS link.
Alternately,
you may get them here:
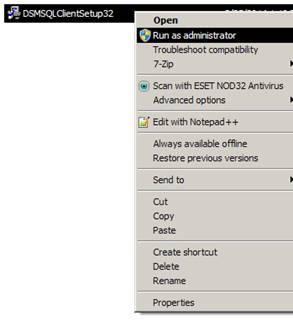
Right
click the installation file and Run As
ADMINISTRATOR. You must run this as the
administrator for the proper support files to be installed.
Once
setup is running, click NEXT 3 times. If
it needs to install other support files, it will do so AUTOMATICALLY.
When
finished, simply CLICK FINISH.
Next,
you need to set the proper rights on your computer to access DSM. This is
required to use DSM. You may have to
have an ADMINISTRATOR do this for you.
Go
to your computer and locate the C:\PROGRAM FILES\PEAK SOFTWARE SYSTEMS\ Folder. Right Click and go to properties.
NOTE:
If a 64bit machine, replace C:\PROGRAM FILES\PEAK SOFTWARE SYSTEMS\ with C:\PROGRAM FILES (x86)\PEAK SOFTWARE
SYSTEMS\
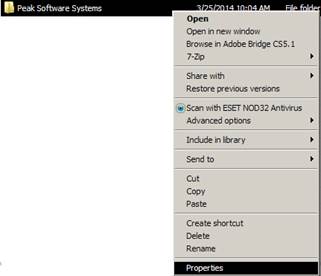
On
the properties window, click the SECURITY TAB:
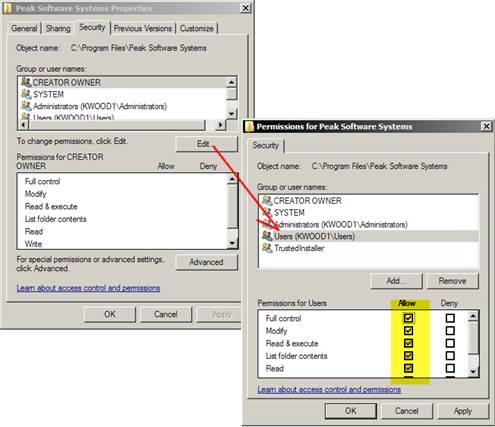
Set
the rights as shown here. This is
required to use DSM.
Once
these rights have been set, find the new DSM ICON on your Desktop and double
click it.

You
will see the following screen:
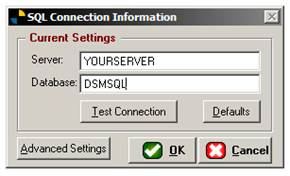
Normally
SUPPORT will have given you this information but if you need to get it, you can
always find out by looking at another computer that functions with DSM. To find that on another computer, go to
C:\PROGRAM FILES\PEAK SOFTWARE SYSTEMS\
(or X86 if 64 bit) and find the file called CONNECT.EXE
Double
click it and it will bring up the settings used. Simply write them down and bring them over to
your new installation.
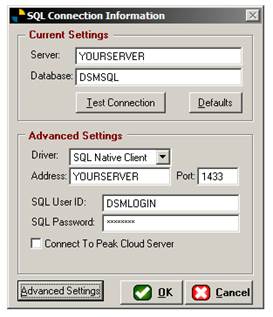
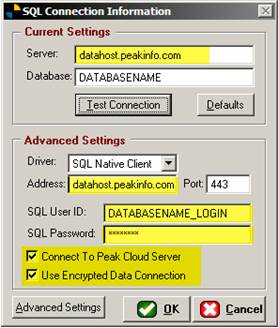
On
rare occasions, you may have to provide more advanced settings depending on
your system. If this is necessary, click
the Advanced settings button and you will see the
following screen.
NOTE:
The password can only be given by a system administrator or a support
agent at Peak Software System, Inc.
Once you have the correct settings in place,
click “Test Connection,” and you should see this;
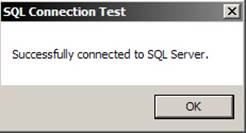
If
successful, simply click ok, then OK again.
Launch
DSM again and you will see a LOGIN SCREEN.
Simply log in and you’re on your way. J
 WINDOWS INSTALLATION: (CLOUD installations)
The
installation for CLOUD workstations is exactly the same except for the
connection settings.
NOTE:
You must subscribe to the cloud service to install in this fashion.
Use
the following connection settings shown below:
These
settings will be given to you by your administrator or a Peak Support
Representative. If you experience issues
with this, please contact us anytime.
 WINDOWS INSTALLATION using the 2X client
The
2X client is used exclusively by the CLOUD customer configuration and is used
for connections outside of your office.
It can be used on windows based platforms, smart phones, iPad and other
devices and it’s the perfect connection tool for your remote employees.
Find
the download on the downloads page under support and install the correct
version.
If
on a pc, follow these instructions:
Install
the client.
Click
NEXT:
Agree
to the agreement, click Next.
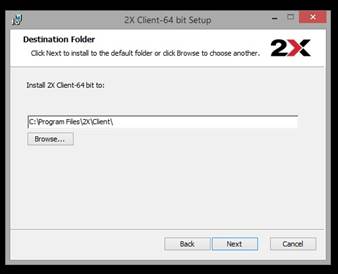
Click
NEXT:
Click
Next:

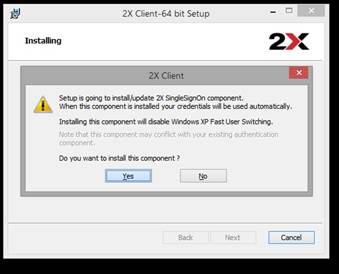
Click
YES:
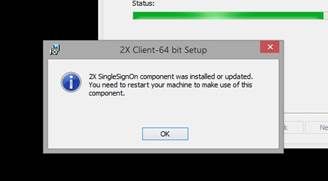
Click
OK: You do not need to restart however.
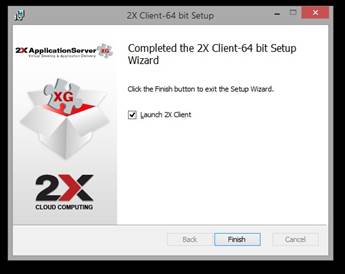
Click
FINISH:
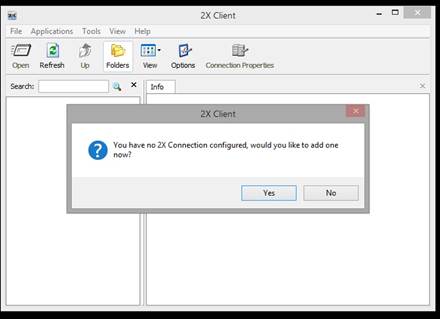
Launching
the 2X client will show you the following screen. Click YES.
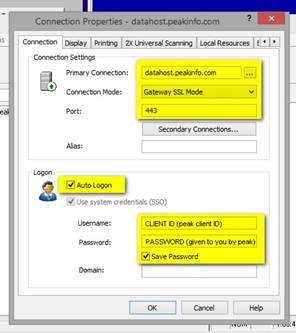
Enter
your information exactly as shown here:
End
of document.