Scheduled Reports in DSM Jobs
With Scheduled
Reports, you can automate reports and have them delivered to your inbox on a
schedule you choose.
This document will cover:
ü Enabling and Logging In to DSM
Jobs
ü Creating Scheduled Reports
ü Maintaining Scheduled Reports
List
Enabling and Logging In to DSM Jobs
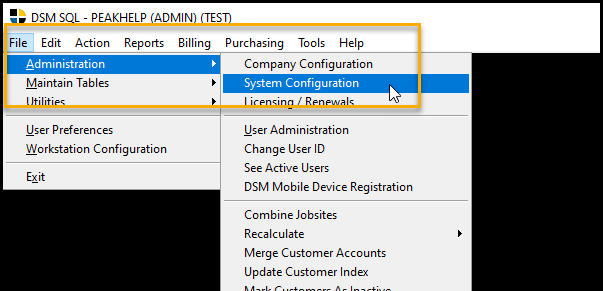
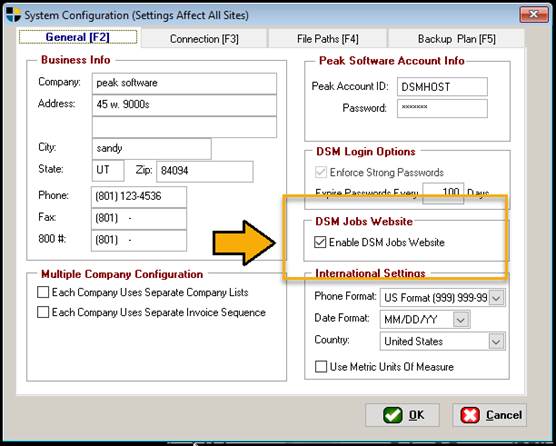
To Enable the DSM
Jobs site for your company you will begin by navigating to File >
Administration > System Configuration, then checking the box for Enable
DSM Jobs Website.
Note:
You will need Administrative Permissions in order to make changes to System
Configuration.
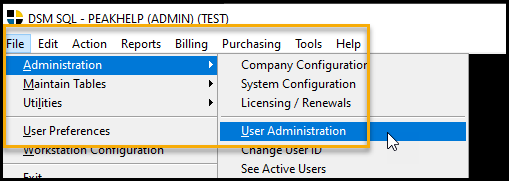
Next, you will
need to enable a DSM Jobs login for each user who will be accessing your DSM
Jobs site. To enable user logins, navigate to File > Administration >
User Administration, then double-click on the user you’d like to enable a web
login for.
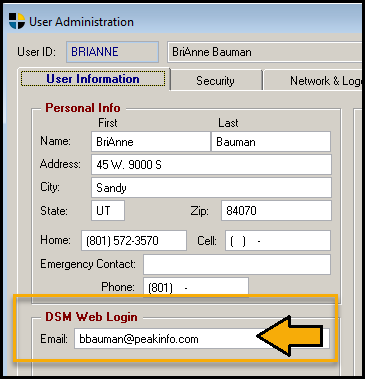
Enter the user’s
email address in the DSM Web Login area. This email will be the username for
DSMJobs.com. Once you click out of the email field, you will be required to enter
a new, strong password (at least 8 characters including both upper and
lowercase letters and at least one number or symbol). This newly created
password will become the login password for both the DSM Desktop App, and
DSMJobs.com. The username for logging in to the DSM Desktop App will not
change.
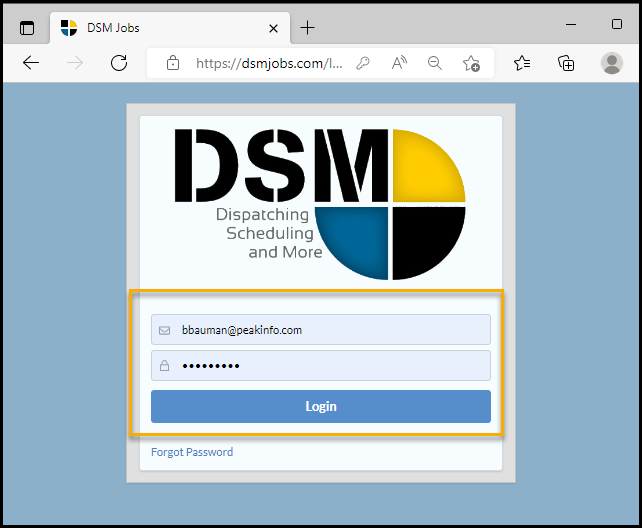
To login to DSM Jobs, open your preferred web browser and navigate to
DSMJobs.com. Enter your email address, and new password, and click [Login].
Creating
a Scheduled Report
To create a
schedule for a report you will begin by navigating to the Reporting section
from your dashboard using either the [Reporting] button at the top-left
of your screen, or the reporting Quick Link on the left of your screen.
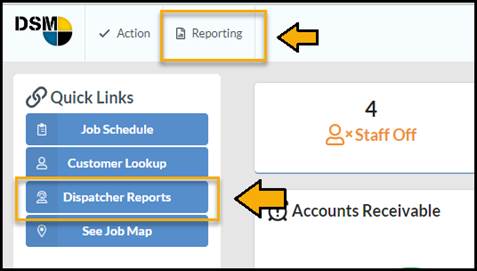
Scheduled
reporting is available on several key reports. For our example today we will be
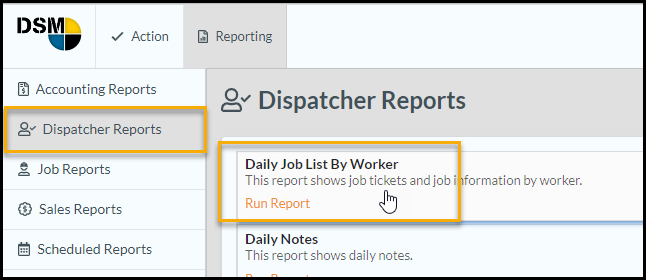
using the Daily Job List By Worker report. Configure
your report by clicking on [Dispatcher Reports] then clicking on [Daily
Job List By Worker].
Select either
Standard Report, or Custom, and select the applicable checkboxes for the items
you wish to include (i.e., Include Quotes, Include missing job tickets) then
click the [Schedule] button at the bottom of the screen.

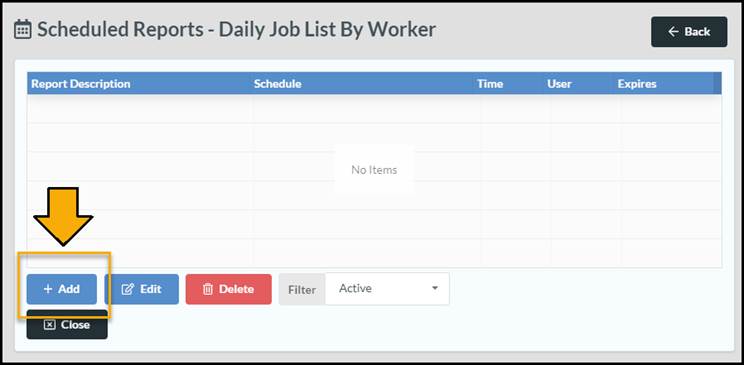
You will be taken
to the Scheduled Reports List for this report. From this screen you will be
able to see any previous schedules that have been created for this report. To
add a new schedule, click [+Add].
There are several
configurable options in the Add Scheduled Report screen.

Date Field: Select the start date for your report, and how many days you want
that report to include. Our example will include the daily job list for only
the following day. We recommend setting the Daily Job List report to run after
the last person would have made adjustments to the schedule for the following
day to ensure you have an emailed backup of job schedules for your employees.
How Often To Run
Report: Select from Monthly or Weekly, and choose the
date of the month, or days of the week you’d like your report sent on.
Report
Description: Description that will show on your
scheduled reports list.
Run Report At This
Time: Time of day you would like your report to run.
(We recommend having the Daily Job List run for the following day at a time in
the evening after the last person will have made changes to the schedule.)
Email Subject
Line: The subject that will be shown when the email
is received.
Email: Enter the email or emails that you want your report sent to.
Once your
configurations are complete, you can click [Test] to receive an emailed
example of what your emailed report will look like sent to your inbox, or
select [OK] to save your report schedule.
Maintaining your Scheduled Reports List
To view and make
changes to your scheduled reports navigate to Reporting > Scheduled
Reports.
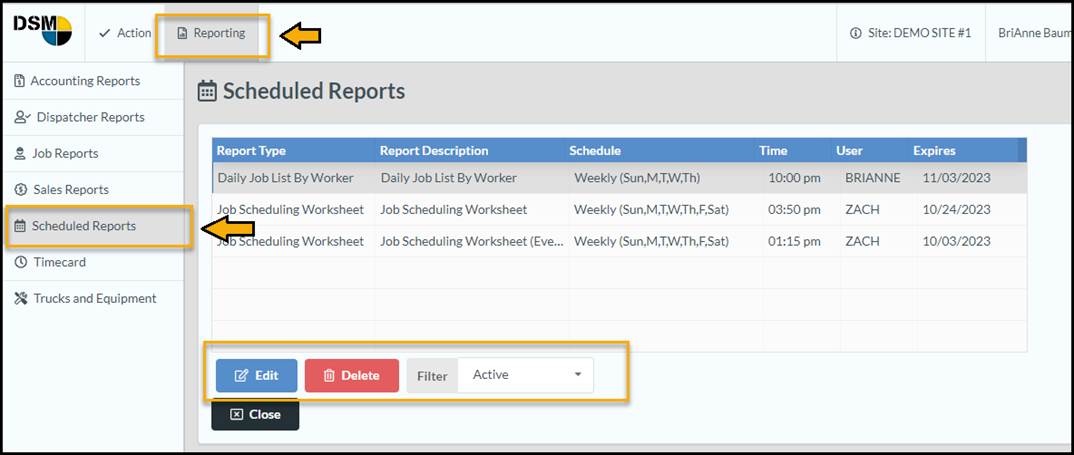
This screen will display a filterable list of existing
scheduled reports. You can make changes to the schedule for a report by
highlighting that report and clicking [Edit] or delete a report you do
not want to be scheduled by highlighting tat scheduled report and clicking [Delete].
For historical purposes, you can also choose to Edit and Inactivate a report
rather than deleting.
DSM:R:B:NOV22